Tweak Android Avatars
After testing, you may find some issues in Android avatars. This page describes how to tweak Android avatars with examples.
This page requires knowledge of some basic technical terms of Unity.
Transparent Meshes
Android avatars don't support transparent materials. So converted avatars may have issues with transparent materials. For example, facial expressions (blush and pallor), glasses lens, and eyes (cornea).
There are various ways to solve issues though, this page describes three ways.
Do not use shaders which are under VRChat/Mobile/Particles as alternatives for transparent materials.
They are for particles, not for avatars.
Refer to Quest Content Limitations.
Edit Animations
In most cases, problematic facial expressions are implemented as blendshapes animationss. So you can suppress them by editing animations.
- Find problematic animation clips in your project folder and duplicate them.
- Open a duplicated animation clip in the Animation window.
- Edit animation parameters not to use problematic blendshapes.
- Duplicate the animator controller of the FX layer and open it.
- Replace problematic animations with edited animations.
- Set the duplicated animator controller to the FX layer.
After creating new animation clips, you can create an Animator Override Controller to override the original animations. VRCQuestTools autocmatically creates new Animator Controller by resolving Animator Override Controllers when converting an avatar. See the reference page for more details.
Delete Transparent Meshes
In some cases, problematic parts of meshes can be removed instead of editing animations. This page just suggests tools to edit meshes.
- MeshDeleterWithTexture by gatosyocora
- Avatar Optimizer by anatawa12
- Blender
Tweak Textures
In most cases, problematic facial expressions are implemented as transparent meshes and such meshes are superimposed on the surface of the avatar's face. So you may suppress issues by filling transparent area with avatar's skin color.
Samples
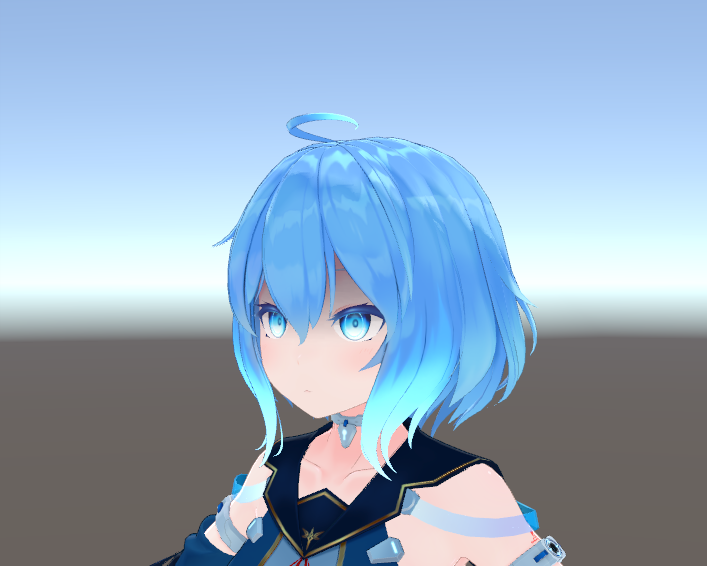
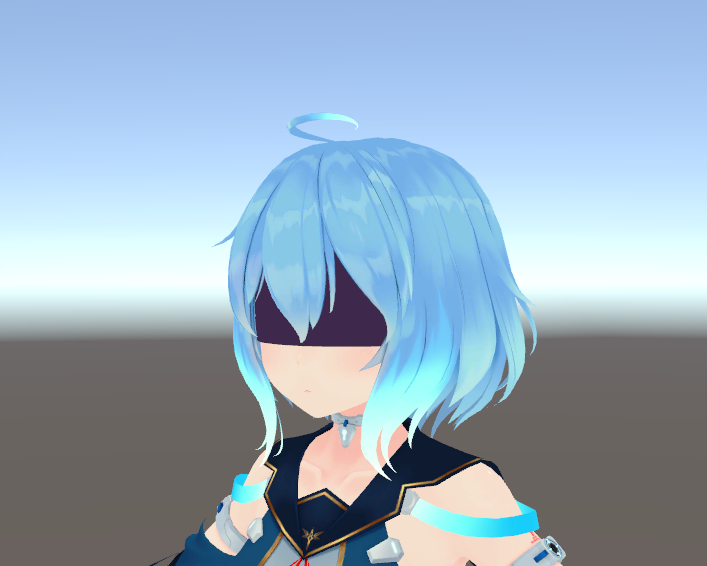
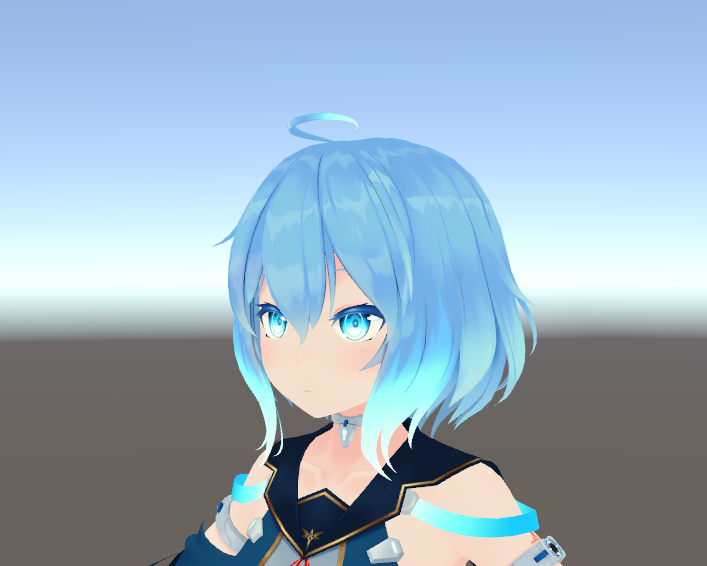
Pallor Face
Edit blendshapes animations or the mesh to suppress pallor.
Models:
- I-s Ver.2.0 by トクナガ
| PC Version | Converted Avatar | Tweaked Avatar |
|---|---|---|
 |  |  |
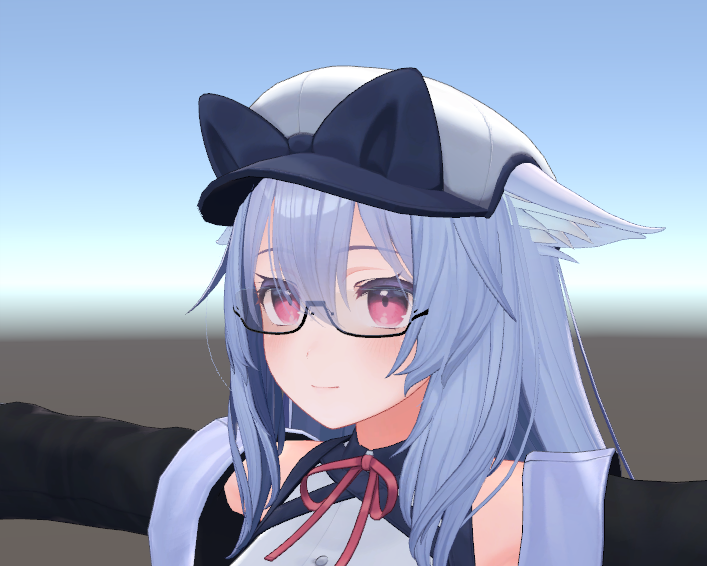
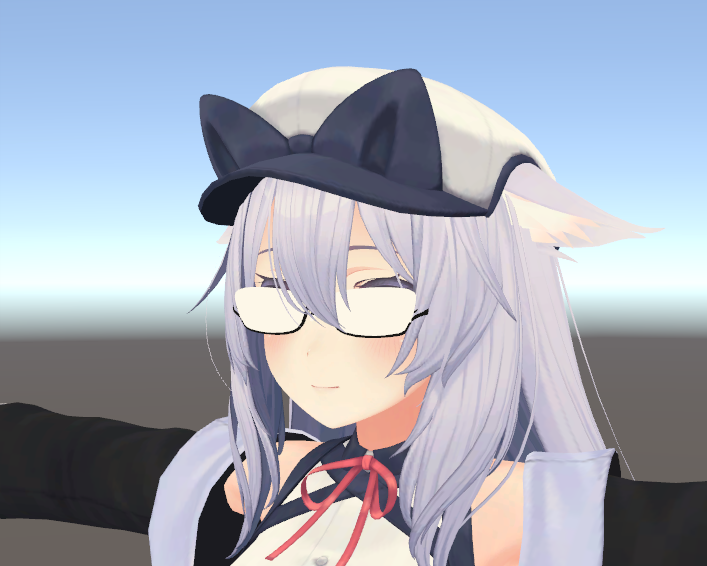
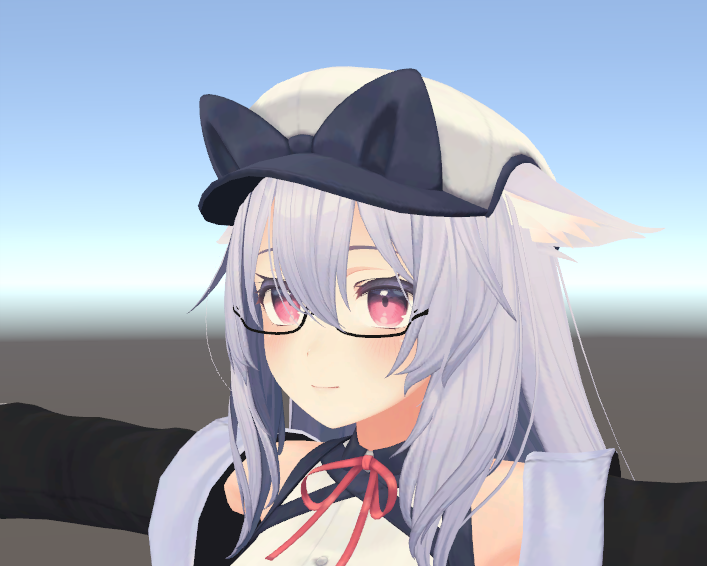
Glasses Lenses
Remove lenses by editing the glasses mesh.
Models:
| PC Version | Converted Avatar | Tweaked Avatar |
|---|---|---|
 |  |  |
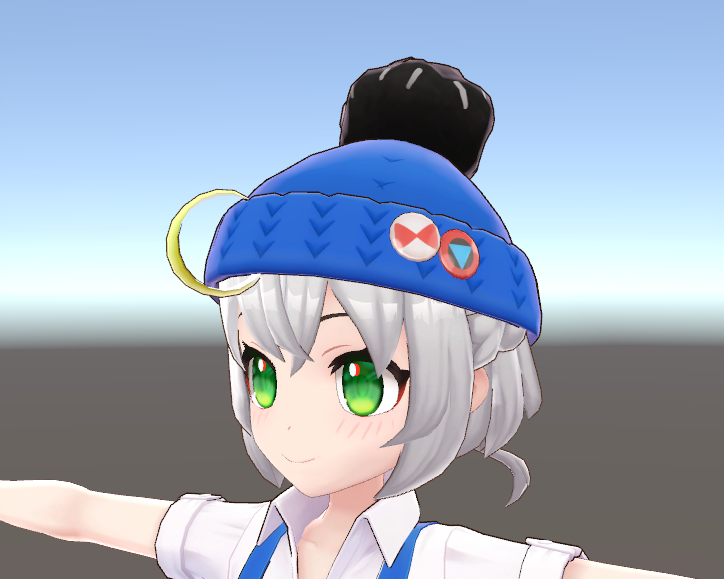
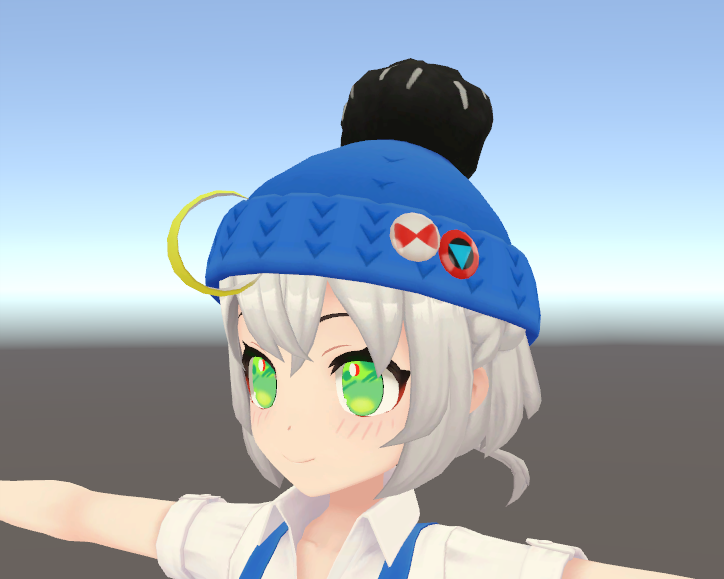
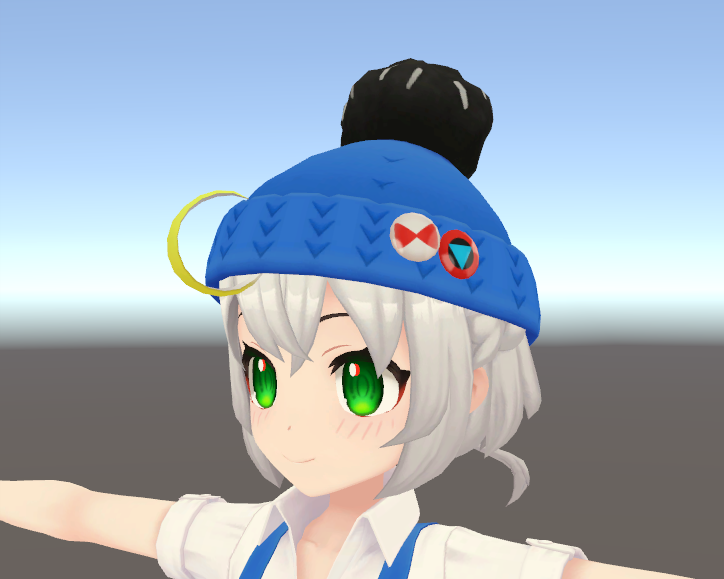
Eyes (Corneas)
Remove corneas by editing the eyes mesh.
Models:
- 店員ちゃん by コトブキヤ
| PC Version | Converted Avatar | Tweaked Avatar |
|---|---|---|
 |  |  |
Build Size
In general, textures and meshes are the main factors of build size. Due to 10 MB limit of Android avatars, you may need to reduce the size of textures and meshes.
Omit Unnecessary GameObjects
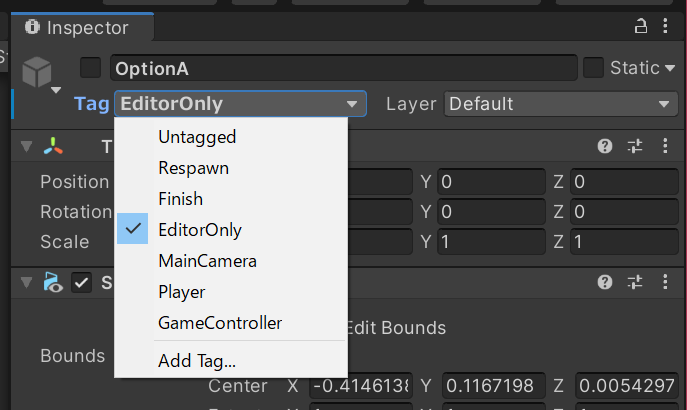
GameObjects which have EditrOnly tag are not included in the build. This means you can omit unnecessary meshes and materials from your avatar. So you may be able to reduce the build size by tagging unnecessary GameObjects with EditorOnly tag.
Omit Unnecessary Shapekeys
Shapekeys (blend shapes) increase the size of meshes. It leads to increase the uncompressed size of the avatar.
You can remove unnecessary shapekeys by using the Trace and Optimize component of Avatar Optimizer.
Tweak Texture Compression Settings
In many cases, textures are the main factor of build size. There are two approaches to reduce the size of textures.
Reduce Texture Resolution
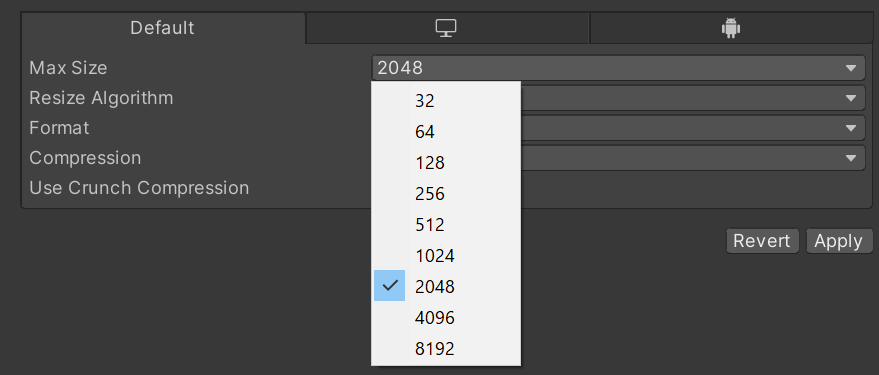
Just reducing texture resolution is the easiest and effective way to reduce the size of textures. You can reduce texture resolution by changing Max Size in the inspector.
Tweak Texture Compression Settings
Unity uses ASTC 6x6 block for ASTC compression by default. You can change texture quality by change ASTC block size.
| ASTC Block Size | Texture Quality | Size |
|---|---|---|
| 4x4 | High | Large |
| : | : | : |
| 6x6 | Default | Default |
| : | : | : |
| 12x12 | Low | Small |
You can set ASTC block size in the platform-specific override setting of the inspector. Select the Override for Android checkbox and change Format drop-down menu.
